Wednesday, May 16, 2012

Tree of Life

Photobucket 


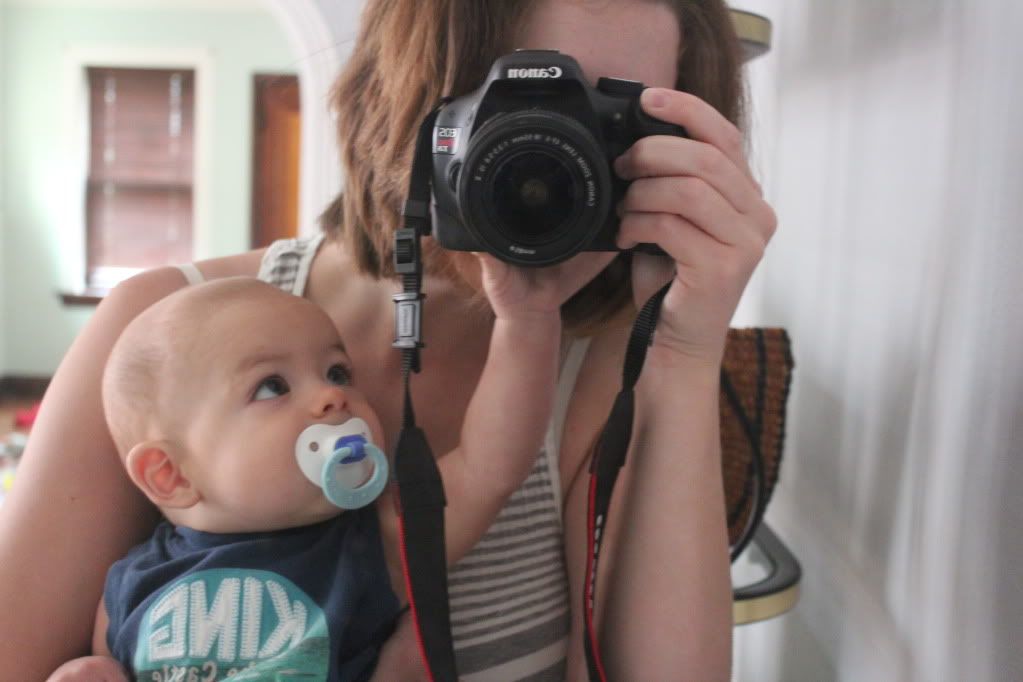
This year was my first Mother's Day and a beautiful one it was. It was pretty laid back for the most part, but I had one thing I was determined to do.

Photobucket 
Photobucket 
Photobucket


Before I jump straight to it, I'm going to explain. While pregnant with S, I explored my options regarding my placenta. Our plan was to get it encapsulated. It sounded like the best option for me considering it helps with milk production and the baby blues along with many other benefits. Well, his birth came and went and the placenta remained in our freezer. I thought about it countless times. As the weeks passed, it no longer seemed necessary to have it encapsulated. Months past and it was still hanging out in the freezer.

Photobucket


As Mother's Day approached I finally had my mind set on what I planned to do with my beloved placenta, my tree of life. I couldn't imagine just throwing it away. Letting it rot away in some land fill next to garbage. I decided to plant it under a baby peach tree. This amazing organ that my body grew then housed and cradled my baby boy was now going back to the Earth. Back to the Earth to fertilize the soil and give back to us for years to come, in peach form.

Photobucket 


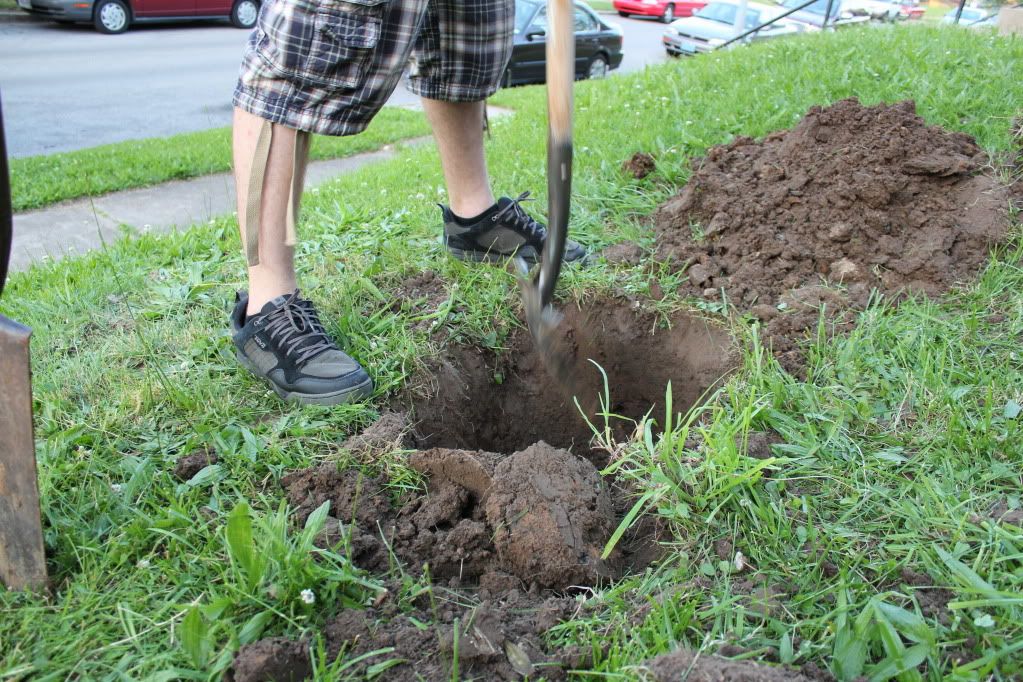
So on Sunday we woke up bright and early to pick up the tree before Jordan headed off to work. S and I spent the day livin' easy. Took a long walk around the park, S napped, nursed and napped again. Once Jordan got off work we headed to GG and Paw's (my parent's) for a Mother's Day dinner. Before the sun set we headed home to dig, plant and water.

Photobucket 


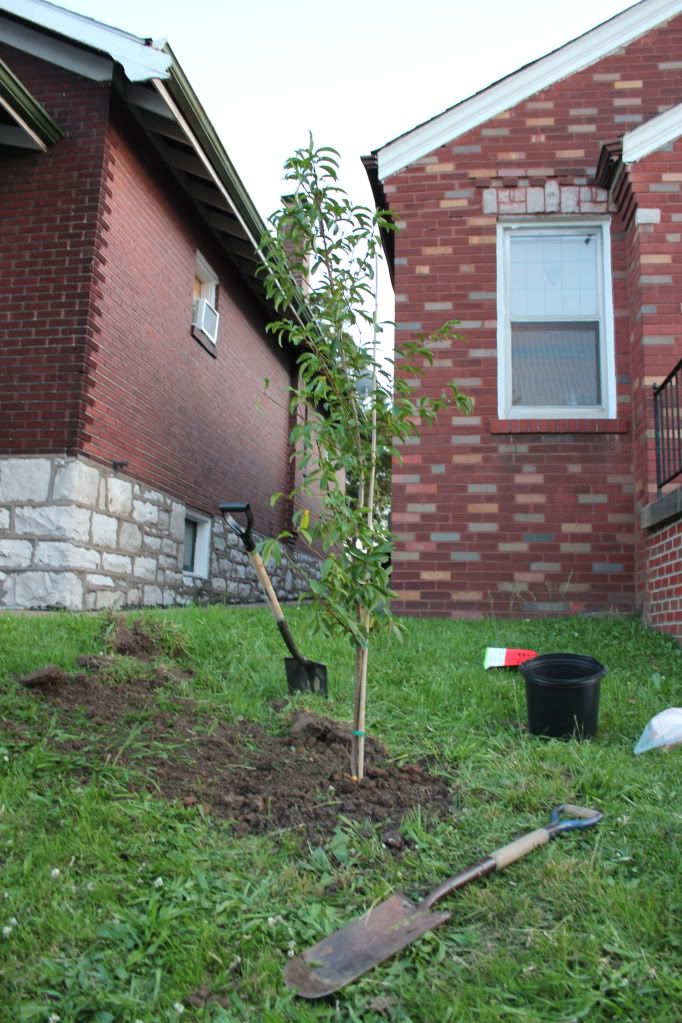
When the hole was ready we placed the placenta at the bottom then topped it with the tree. S was getting really tired at this point and was just ready to go to bed.


 Photobucket 


We mulched the tree and gave it a big long drink then headed in for bed.

After S was snuggled in our bed, I sat on the couch and remembered how I wanted to plant a tree for him, his birth tree. I envisioned him watching it grow as he, himself grew too. I envisioned him playing under it, climbing it, kind of like a close friend. Ended up killing two birds with one stone, so to speak.

It was the best Mother's Day I ever had ;)
Saturday, May 12, 2012

Time Well Spent


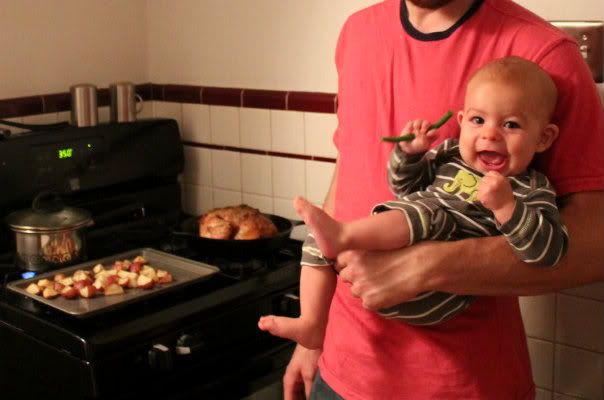
This is how we cook.


IMG_3032


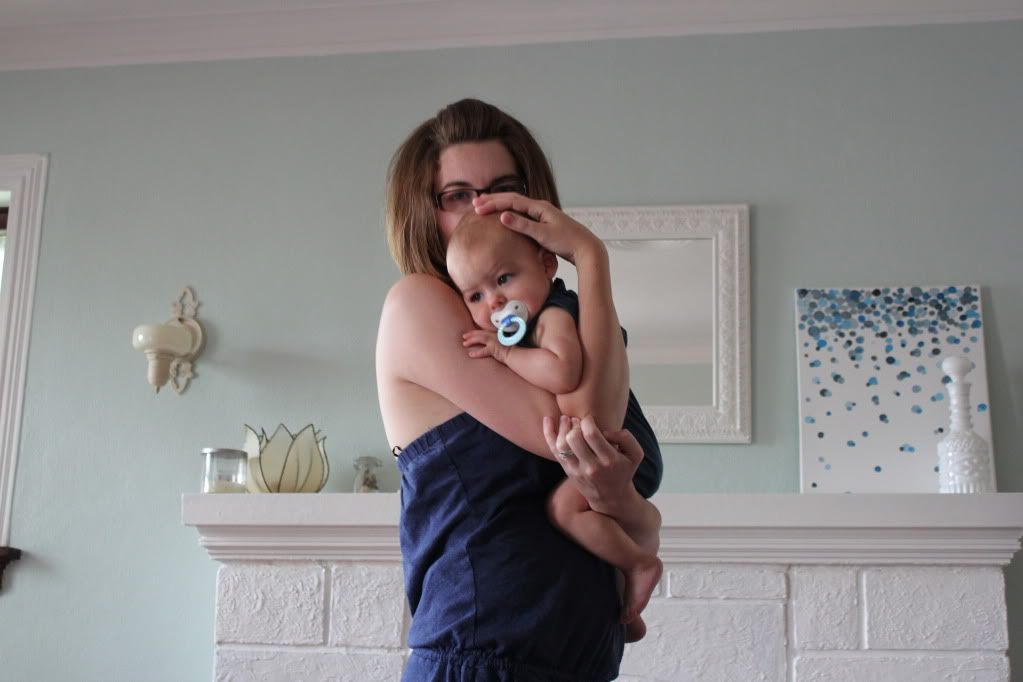
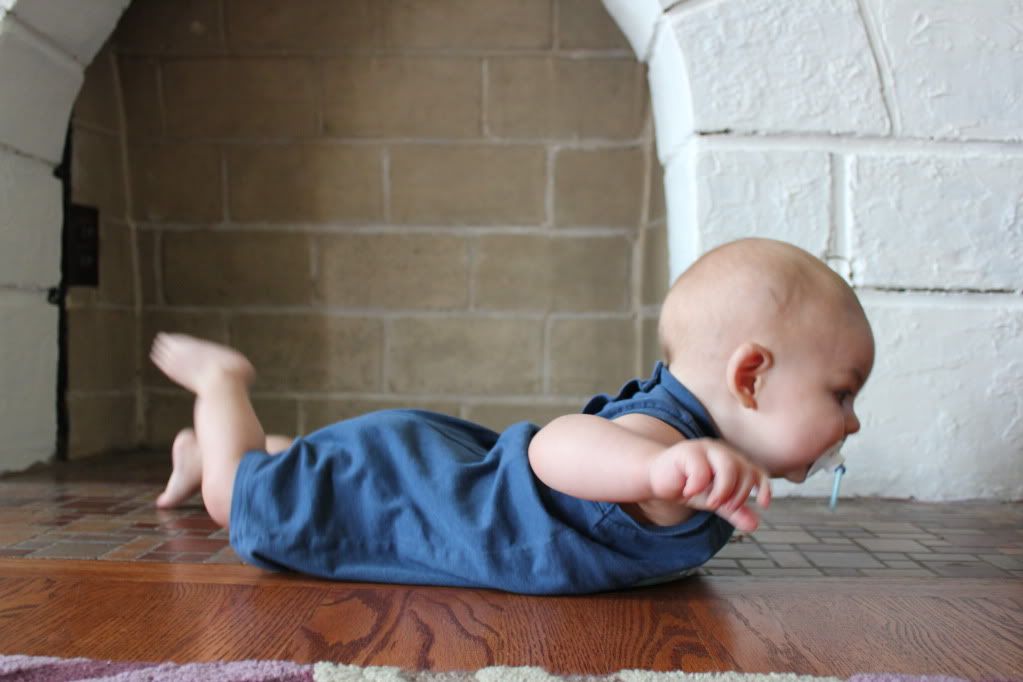
Actually, this is how we do everything. S in one arm while we juggle our daily tasks with the other. He loves to be held and we love to do the holding. He doesn't like the sling, or any other carrier for that mater, but he sure loves to be in our arms. It's probably that he feels included in what we are doing, instead of sitting on the sidelines. Honestly, we wouldn't do it any other way. We could have him sitting in the other room on the floor or in the kitchen sitting in his bouncer, but we all like to be in on the action. He sure isn't to young to start helping! Maybe the more his is involved in the preparation, the better the eater he will be. He might enjoy the chickens a little more because we included him in the interaction at an early age. What I do know is that I am happy we choose to do this. This won't last forever. These are times we can never get back and we are making the absolute most of them.  I'm happy he enjoys being in our arms, time well spent. 

Wednesday, May 9, 2012

Homemade Yogurt


IMG_2724-1

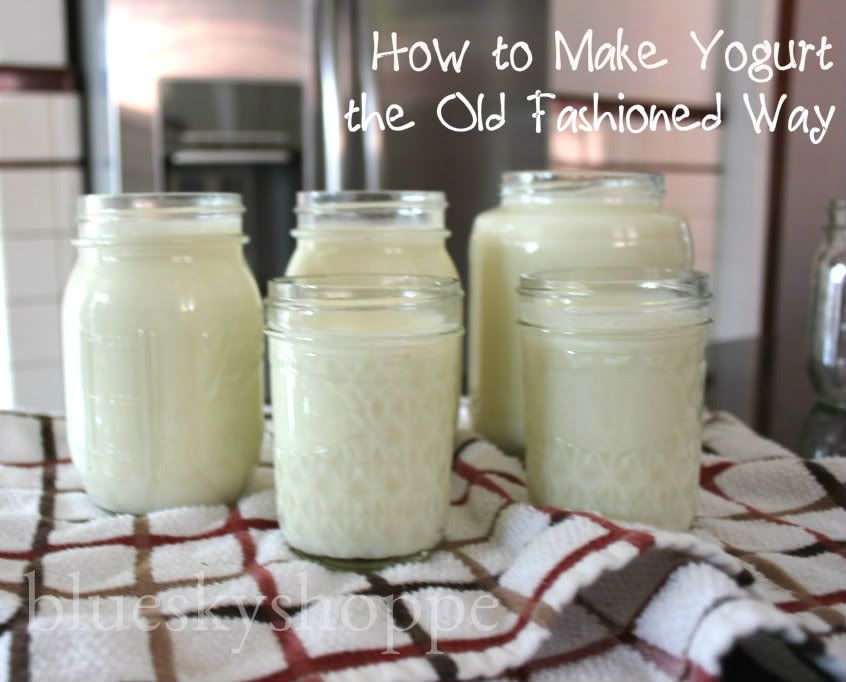
 A couple of weeks ago my sister-in-law gave us a huge jug of raw cow's milk. I am not the biggest fan of drinking milk so I had to come up with something to do with it. I gave a portion of it away, Jordan used some in his coffee and the rest was turned into yogurt. 

Our process is actually quite simple, just keep in mind that *I am not an expert*. We do not own a yogurt maker so we do it the good old fashioned way.


First, make sure you have everything together:

raw milk or any milk, really (except ultra pasteurized)
sterile jars
food thermometer
large pot
plain "starter" yogurt with live cultures, 1/4 cup per quart (I used Stonyfield) - you can also save some from your homemade batch to make the next batch

There is the low-temperature method and the high-temperature method. I used the high-temperature method.

Get your jars together and make sure they are really really clean. They must be very clean because we plan on fermenting the milk and don't want any bad bacteria to get in the way.


IMG_2707


If you are using raw milk, make sure you skim off the heavy cream so you can turn it into butter or whatever you prefer.

Next, pour the milk into your pot. Heat it to 180 degrees over medium heat.


 IMG_2717


Once your milk reaches 180 degrees, remove the pot from the heat and allow to cool down to 110 degrees. You can do this quickly by submerging the pot in iced water.

Now, add your starter yogurt and stir well.

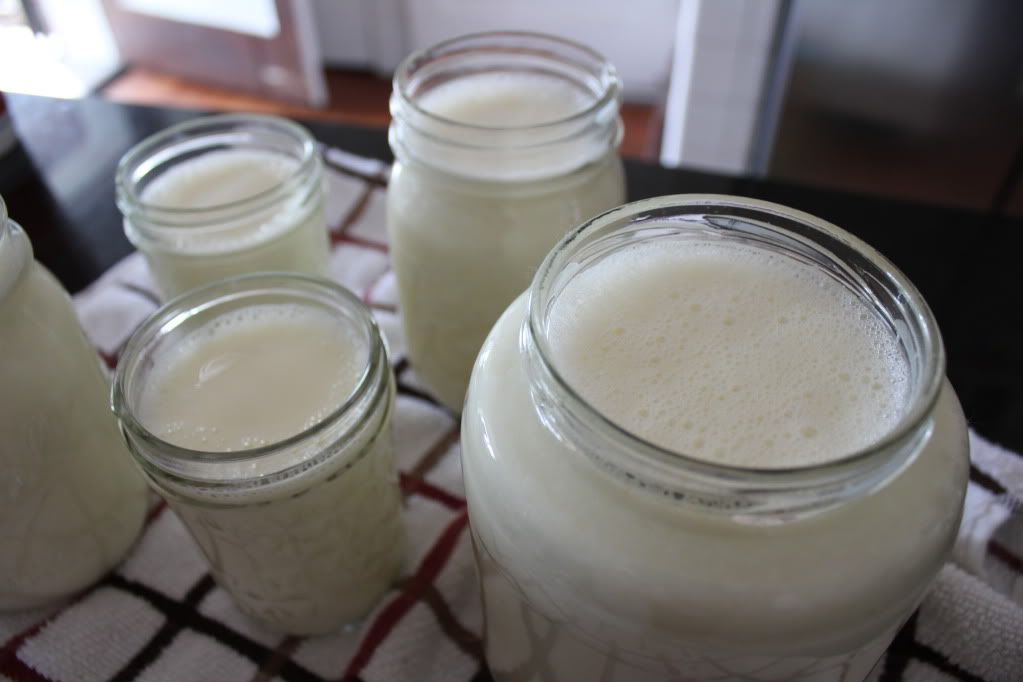
Transfer yogurt to your clean jars.


 Photobucket 


Now, cover your jars with a towel to ensure that your milk remains between 80 and 100 degrees and let it sit for 10 to 24 hours. I made mine on a warm day that our air conditioner was off so I could just cover it and leave it on the counter to ferment. A couple other options are to turn on your oven and leave the jars in there or place your jars on a heating pad and cover with a towel.

Refrigerate before eating.

We use our yogurt to make salad dressing, to bake with and to eat with fruit and granola.

I hope you enjoy!