Showing posts with label diy. Show all posts

Sunday, August 19, 2012

Natural Cough & Cold Remedy

It's that time of the year again, kids are back in school. That means germs are flowing and you and your little one might get sick. I don't know about you, but I am not a big fan of taking unnatural medicines or giving them to my child. Although they provide relief, they can also be harmful to your body. Luckily, we have sweet Mother Earth to rely on.

Here is a simple, safe and totally affordable natural remedy that you can use on your whole family. Most people have the herb right in their own home! Thyme. This infusion is fool proof!

IMG_6504

(Note: children, babies and adults all take a different dosage. See list below. Do not give to babies under 6 months of age without professional advice)

Directions:

Simply steep 2 level teaspoons of dry thyme in 1 cup of boiling water (one teaspoon if you are using fresh thyme)

cover for 5 - 10 minutes

Strain and let cool


Dosages:

Standard: take 1 cup 3-4 times a day

6 - 12 months: take 1/3 cup a day

1 - 6 years old: take 1 - 2 cups a day 

7 - 13 years old: take 2 1/2 - 3 cups a day


 I don't have a fancy tea pot, I just dump my herb into a jar and pour the boiling water on top. I cover the jar with a towel and strain with a regular mesh strainer when it is done.
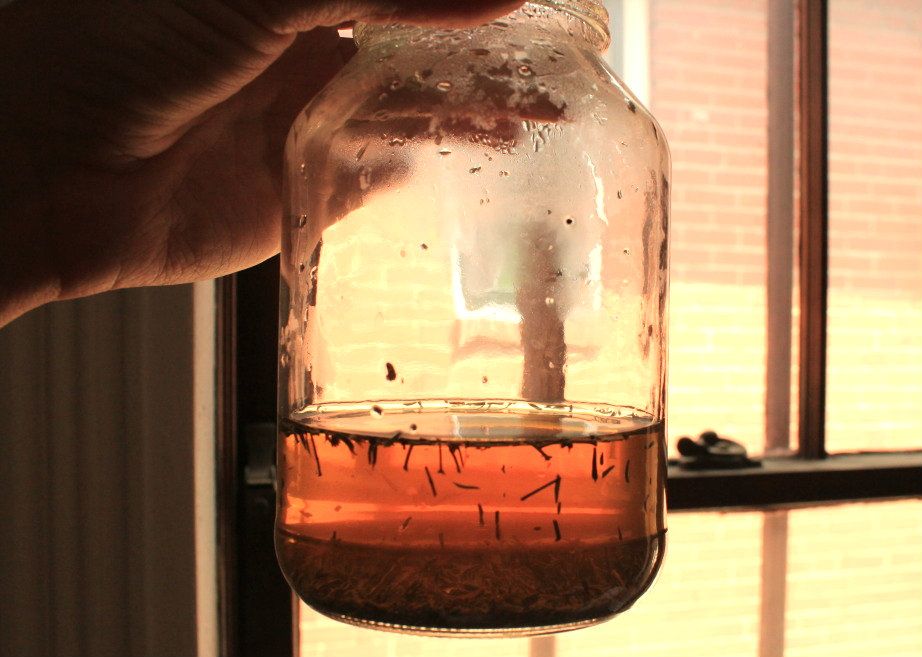
 IMG_6496

This infusion can be stored in the refrigerator for up to 24 hours. It's not that long, but that's okay because it's simple enough to make it as you need it.

I hope you try this out! Let me know if you have any questions, I would be happy to answer them!

All of my information came from the book Natural Health Encyclopedia of Herbal Medicine by Andrew Chevallier


Wednesday, May 9, 2012

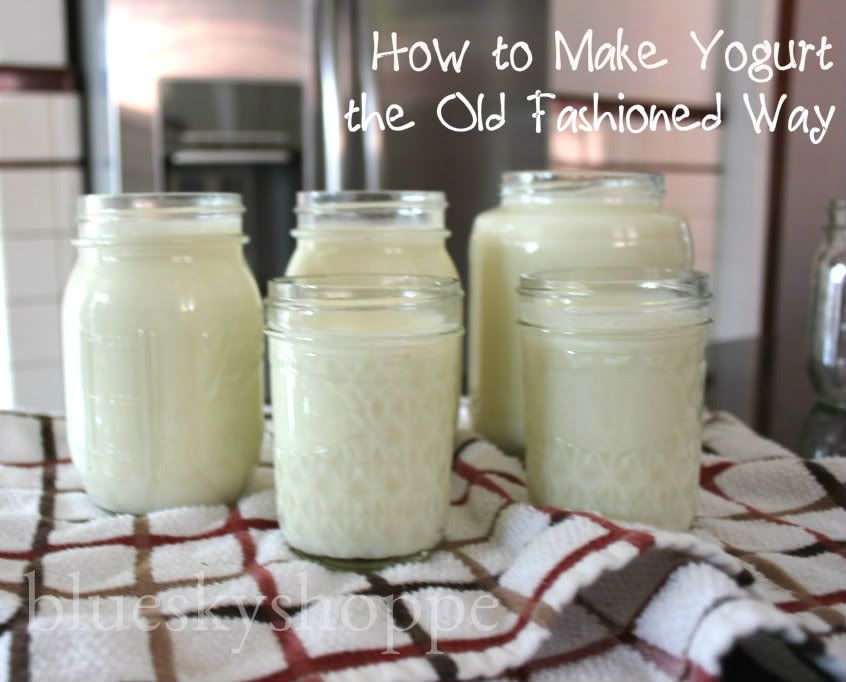
Homemade Yogurt


IMG_2724-1

 A couple of weeks ago my sister-in-law gave us a huge jug of raw cow's milk. I am not the biggest fan of drinking milk so I had to come up with something to do with it. I gave a portion of it away, Jordan used some in his coffee and the rest was turned into yogurt. 

Our process is actually quite simple, just keep in mind that *I am not an expert*. We do not own a yogurt maker so we do it the good old fashioned way.


First, make sure you have everything together:

raw milk or any milk, really (except ultra pasteurized)
sterile jars
food thermometer
large pot
plain "starter" yogurt with live cultures, 1/4 cup per quart (I used Stonyfield) - you can also save some from your homemade batch to make the next batch

There is the low-temperature method and the high-temperature method. I used the high-temperature method.

Get your jars together and make sure they are really really clean. They must be very clean because we plan on fermenting the milk and don't want any bad bacteria to get in the way.


IMG_2707


If you are using raw milk, make sure you skim off the heavy cream so you can turn it into butter or whatever you prefer.

Next, pour the milk into your pot. Heat it to 180 degrees over medium heat.


 IMG_2717


Once your milk reaches 180 degrees, remove the pot from the heat and allow to cool down to 110 degrees. You can do this quickly by submerging the pot in iced water.

Now, add your starter yogurt and stir well.

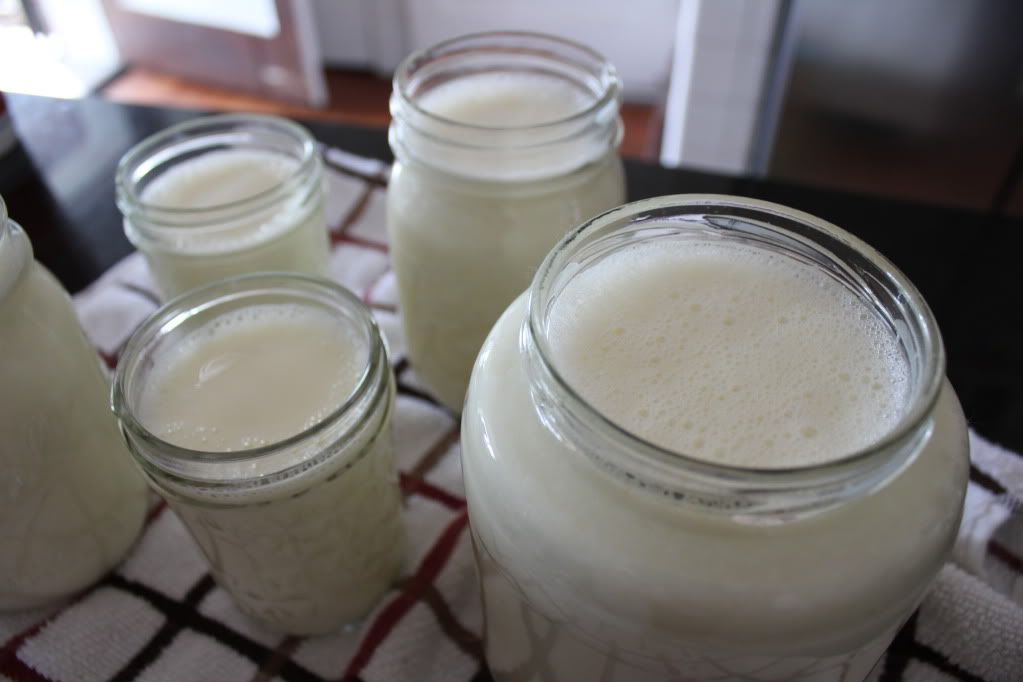
Transfer yogurt to your clean jars.


 Photobucket 


Now, cover your jars with a towel to ensure that your milk remains between 80 and 100 degrees and let it sit for 10 to 24 hours. I made mine on a warm day that our air conditioner was off so I could just cover it and leave it on the counter to ferment. A couple other options are to turn on your oven and leave the jars in there or place your jars on a heating pad and cover with a towel.

Refrigerate before eating.

We use our yogurt to make salad dressing, to bake with and to eat with fruit and granola.

I hope you enjoy!

Friday, April 20, 2012

diy decoupage map mirror

Not too long ago while stumbling around on the internet I found this amazing set of drawers. I fell in love. I started thinking how I could create something like this for my own home. My original plan was to transform a thrifted side table I found at Goodwill, but never really got around to it. With Jordan and I working completely different schedules, trying to find time to decoupage is like trying to find a needle in a haystack. I had to think small and quick.

*A mirror. Perfect!


Photobucket
S even helped :)


Looking around my house I found all of the supplies needed.

  • a map
  • a mirror (I found mine for $5 at an estate sale!)
  • mod podge
  • a foam brush
  • scissors
Directions:
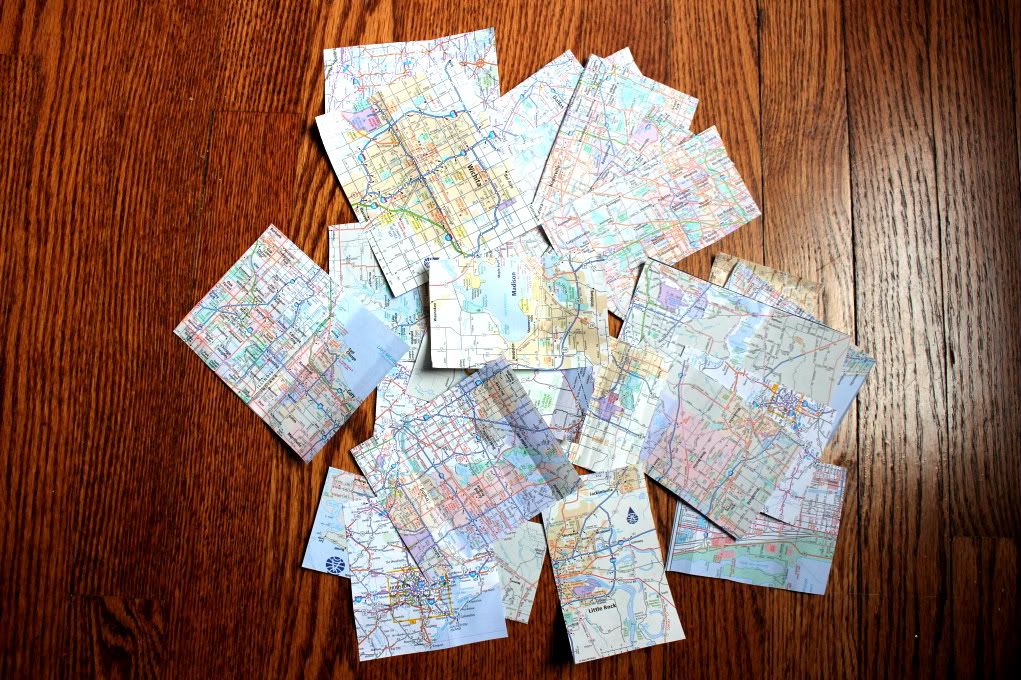
simply cut your favorite parts of your map into strips or squares long enough to wrap around to the back of your mirror


Photobucket


brush mod podge onto the back of your map, one piece at a time
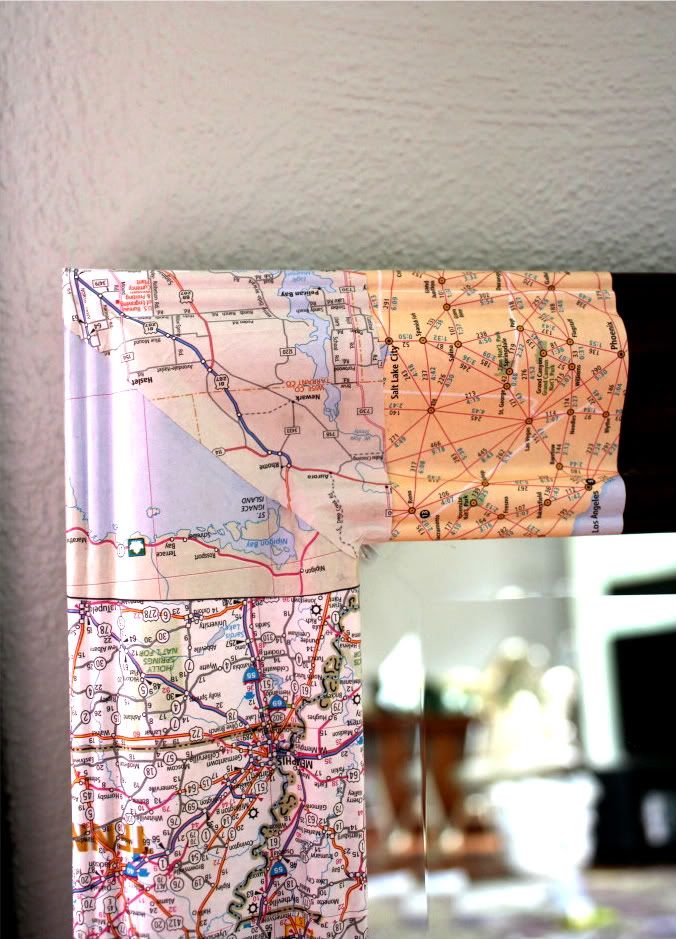
apply a piece of the map to the surface of your mirror use your fingernail to press the map into the decorative creases so it lays neat 


Photobucket


and flat against every curve and crevice

wrap the extra length of the map to the back of your mirror and make sure it is secured flat repeat until finished once the mirror frame is covered

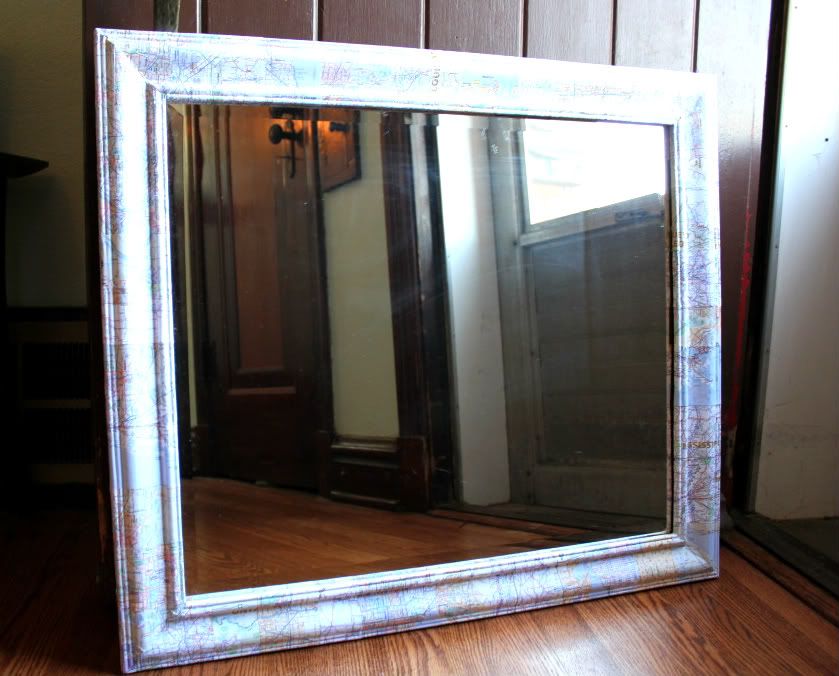
apply a thin coat of mod podge to the entire frame and allow to dry


Photobucket
I sill have to find the perfect place to hang it.


Viola! You have a beautiful mirror hand decorated by you.

Leave a comment and let me know how your mirror turns out. I would love to hear your feedback.